Beads with a bit of decoration make the plainest DIY projects look that bit more detailed, personalised and handcrafted. I'll show you how to decorate a translucent blue cube bead with pre-cut adhesive panels for a clean, framed bead design that I keep coming back to for charm sets.
The project is very beginner-friendly, quick, and useful for loads of bead crafts. Once it's done you can use the decorated cube bead for phone charms, keychains, bag charms, bracelets, beaded pens, zipper pulls and plenty of other fun DIY accessories.
If you enjoy working with acrylic beads, square beads, large hole beads and other cute DIY bead charms, this simple project is the one for you.
Project Overview
Project type: DIY decorated cube bead
Difficulty level: Beginner
Estimated time: 5-10 minutes
Main technique: Peel-and-stick bead decoration
Best for: Phone charms, keychains, bag charms, bracelets, beaded pens and handmade gifts
This tutorial focuses on decorating one translucent blue cube bead, but you’ll also learn a technique that can be used with many bead shapes and sizes. The steps below show how to place pre-cut adhesive stickers on each side of the bead while keeping the holes open and the edges neat.
Products Used in This DIY Video
This project uses:
- translucent blue acrylic cube bead
- square acrylic bead with a large hole
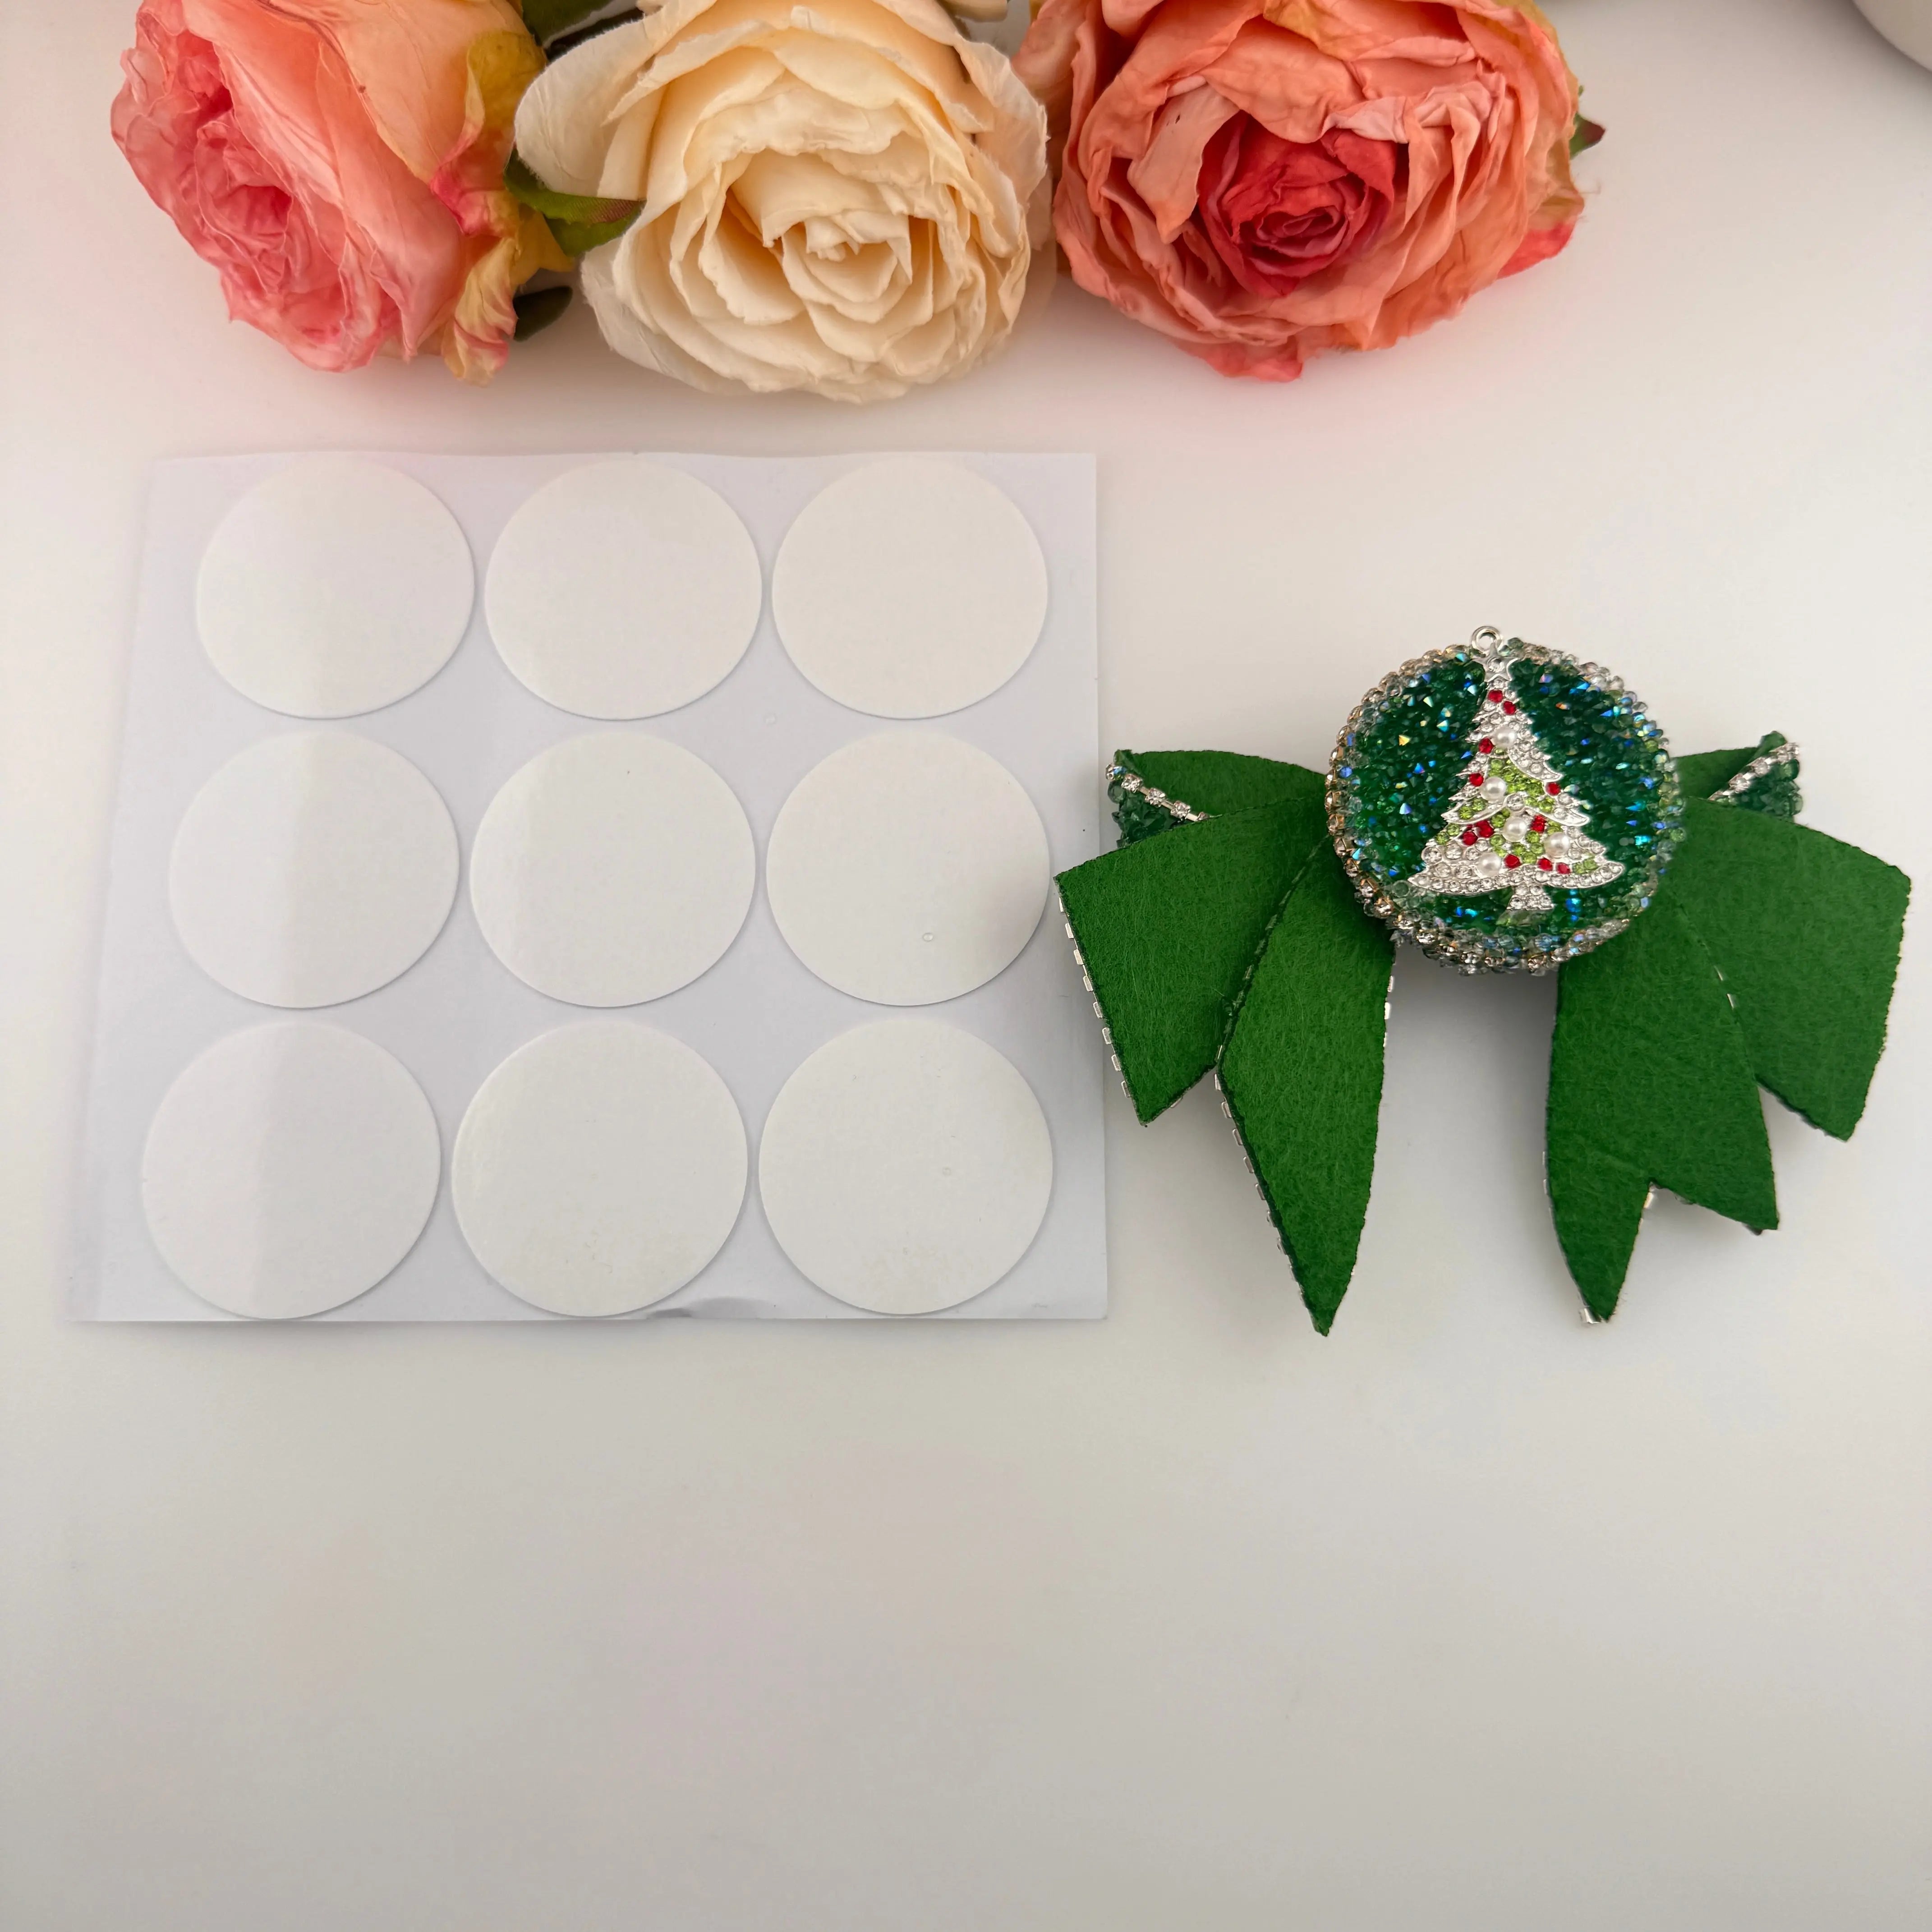
- pre-cut self-adhesive bead stickers
- white adhesive square panels
- peel-and-stick decorative bead labels
- acrylic bead decorating sheet
- optional phone charm cord, keychain ring, and a few spacer or crystal beads
- The main component is the translucent blue cube bead, which has a visible hole through the centre, so it threads onto elastic cord, jewellery wire, a phone charm cord or a keychain ring without any fuss. The white adhesive panels come pre-cut to fit the faces of the square bead, and some have a centre hole already punched so the bead hole stays open after you decorate it.
Watch the DIY Cube Bead Tutorial
Watch this short DIY bead tutorial to see how the translucent cube bead is decorated with pre-cut adhesive stickers while keeping the bead holes open and the edges neat.
Materials You Will Need
The specific bits I used here:
- one translucent acrylic cube bead
- one sheet of pre-cut adhesive bead stickers
- a clean working surface
- clean hands, or tweezers if you prefer them
- optional small scissors, if you need to tidy a sticker edge
- optional clear nail polish or a clear jewellery sealent for extra durability
- If you're turning it into something specific you'll also want elastic cord, a phone charm strap, a keychain ring, jump rings, and whatever spacer beads, letter beads, rhinestone beads or pearl beads match your theme
Step 1: Prepare the Cube Bead
First, take your clear translucent cube bead. The blue transparent square acrylic bead I'm using has a large centre hole, which means it strings onto things quickly and without a fight. I made sure I could clearly see the bead hole before sticking anything on, because the panels need to line up around it and not block the centre.If your bead has fingerprints, grease, dust or fluff on it, give the surface a wipe first so the adhesive actually grips. Honestly the grease thing got me early on, a whole panel slid off a bead I hadn't cleaned.

Step 2: Choose the First Adhesive Panel
Carefully peel a white adhesive square off the sheet. Pick one that's a close match for the faces of your cube bead so it covers properly. The ones with a hole in the centre are handy for the faces where the bead hole shows, since they keep the hole open so you can still thread the bead later. When you peel the stickers off, try not to touch the sticky side too much.the oils off your fingertips will weaken the adhesive and then the corners start lifting on you.

Step 3: Align the Sticker with the Bead Hole
When you're ready, hold the first panel against the side of the cube bead you've chosen. Line the centre hole of the sticker up with the centre of the bead hole, as this is the bit that really matters for threading the bead onto cord later! Press down gently. Don't commit to any firm pressure until you're happy the placement is right though. Because once it's down properly, shifting it is a pain.

Step 4: Press the Panel Smoothly
Press the panel from the centre outwards towards the edges. This pushes out any trapped air bubbles and helps the sticker sit nice and flat against the face of the bead. Work your finger right around each edge so it's stuck down securely and lying as flat as it can. If a corner lifts, press it back down for a moment. For an item that gets handled a lot, like a phone charm or keychain, you can run a thin line of clear craft glue along the edge to hold everything, but that's optional.

Step 5: Cover the Next Side of the Cube Bead
Now turn the cube bead over and repeat Steps 2 through 4 with your next white panel. Place it neatly so it lines up against the next face and press it flat the same way, so all the edges meet cleanly.The video shows each face done one at a time, with the white edges lining up together to give that finished, framed effect around the bead.

Step 6: Apply the Panels Around the Bead
Keep adding white panels around the cube until all the main faces have stickers on them. Take your time lining them up with the edges so they sit down cleanly and give that neat framed look. This method works so well on a translucent bead because the white gives a strong contrast without hiding the see-through quality, the blue still peeks out at the corners and that's really the whole charm of it.

Step 7: Check the Holes Again
Once the stickers are on all the way round, look again at both centre holes of the cube. Make sure none of the sticker material has crept over the hole, otherwise you won't be able to thread the bead onto your phone strap or bracelet cord!If you find a bit of sticker blocking the hole, gently pick or scrape it away without damaging the rest of your decorated bead.
Step 8: Smooth the Edges
With every sticker in place, go round the edges one last time with your finger and press the stickers down firmly for a really finished, smooth look. Run your finger along the sides to smooth out any last lumps, and pay extra attention to the corners since that's where they lift first.This is also a good point to add a coat of clear sealent ornail polish if you want extra durability for a keyring or anything that'll get a lot of handling.
Step 9: Let the Adhesive Set
Once the bead is decorated all the way round, leave it to sit for a few minutes while the panels settle and grip the surface properly.Avoid tugging at it or messing with it right after, and don't rush to string it or build it into another project before giving the adhesive a little time to set. If I'm making a batch to sell I leave them overnight, because a panel that shifts after assembly means redoing that bead.
Step 10: Use the Decorated Cube Bead in a DIY Project
Your decorated cube bead is ready to go, and it works for all sorts of accessories, phone charms, keychains, bag charms, bracelets, beaded pens and more.You can play off the look with other beads too, pair the blue cube with white, clear, pearl, silver or rhinestone beads for something elegant, or with colourful beads, alphabet charms and spacer beads for a fun, playful set.
Design Tips for Better Results
Match the sticker colour with the bead colour: white panels on the blue bead give great contrast, but you can try pink, purple, clear, black or rainbow to suit different bead colours and themes.
Keep the bead hole open: always check the hole hasn't been covered by sticker material, and clear it carefully if it has, so the bead still strings.
Use tweezers for small pieces: if the panels are fiddly to handle, fine-tipped tweezers make placement much easier and more accurate.
Choose the right bead size: larger cube beads are easier for beginners since they're easier to hold while you apply the stickers.
Press the edges firmly: the edges are where stickers lift first, so press them down well after each one.
Common Mistakes to Avoid
Covering the bead hole: the big one to avoid, or the bead won't string. Always line the sticker holes up with the bead holes.
Touching the adhesive too much: finger oils weaken the glue, so keep contact with the sticky side to a minimum.
Rushing the placement: once a sticker is pressed down it's hard to move without distorting it. Line it up carefully before you press.
Using the bead too soon: give the adhesive time to set before you build the bead into a bracelet or attach it to a keychain.
Why This DIY Bead Project Is Useful
This method takes simple, cheap acrylic beads and turns them into more personalised, custom pieces. It's great if you sell handmade items, since you can make themed collections or run different colour schemes for different occasions.It's also a fun one for getting younger crafters involved, because it's simple and gives that instant result.
Frequently Asked Questions
What is a cube bead?
A cube bead is simply a bead shaped like a cube with a hole through the centre. They come in all sorts of materials, sizes and colours. Acrylic cube beads are especially popular for DIY jewellery and craft projects because they're affordable, light and come in a huge range of colours.
Can I use this decorated cube bead for phone charms?
Yes, absolutely! As long as the centre hole stays clear and the panels are stuck down well, your decorated cube bead is perfect for adding to a phone charm strap.
Can I use this bead for bracelets?
Yes, it works for beaded bracelets. Bracelets get more handling and movement though, so press the panels down really firmly.For extra durability you might add a layer of clear sealant to the edges after decorating.
Do I need glue for this project?
No, this uses self-adhesive panels so no glue is needed. The stickers stick straight to the bead. If you want extra security you can brush a thin layer of clear craft glue or nail polish over the edges once they're on, but it's optional.
What beads match well with blue cube beads?
White and clear beads are classic pairings for a crisp, clean look. Pearl beads, silver spacers and rhinestone beads work beautifully too, or pastel acrylics to soften it.For a bolder contrast, try black or gold.
Is this DIY bead project beginner-friendly?
Yes, it's a great one for beginners! It needs no special tools beyond what's usually in a craft kit, and the main skill is just careful sticker placement. It's low-risk and very satisfying to finish.
Final Thoughts
Decorating a translucent cube bead is a simple but effective way to make your DIY creations pop. Whether you've been crafting for years or you're just starting, turning a basic acrylic bead into a custom piece with a clean framed look lifts the whole feel of your phone charms, keychains and bracelets. Give it a go, play with different colour combinations, and enjoy adding your own touch to your handmade bits!